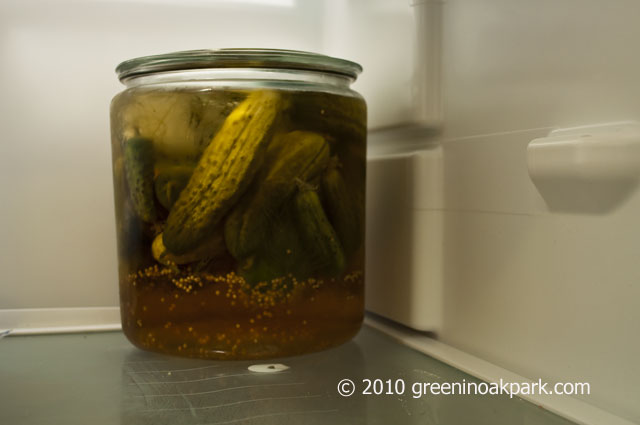
Pickling cucumbers are getting a workout here at Chez Green In Oak Park. Earlier in July, I mentioned making homemade pickles. I ran out of room trying to long-brine pickle many of them in casserole dishes, so I got a tall glass container that’s functioning as a pickling crock in the fridge.
Inside, I have a small Pyrex bowl holding down the cucumbers so that they remain in the brine. The top of the container is upside down so that the handle provides a little more pressure on the cukes. They’ll last months this way and as I mentioned, I can add more as I harvest them. If they don’t get eaten in time, I might can them.
I didn’t want only pickles, however. I also wanted some sweet relish because we use it a lot. So how convenient is it that I’m still getting some pickling cucumbers from my community garden plot AND that both the Oak Park and Forest Park farmers markets have plenty of pickling cucumbers for sale? Very convenient, I tell ya. So I found a recipe for sweet relish, bought some pickling cucumbers, pulled out my canning equipment, and off I went.
The recipe I used is based on this one, but I made some changes. I ran the veggies through the blender briefly and on the lowest setting so it would be less chunky, I skimmed off the whole mustard seeds in the vinegar mixture after a few minutes so they would add flavor but not crunch, I replaced the celery seed with turmeric, and I used only one red pepper. I also doubled the recipe, but I got 8 half-pint (8 ounce) jars rather than the expected 6. I processed these in 2 batches of 4 jars each, and towards the end of the second batch, I started skimming veggies out of the liquid and pouring off a bit of the liquid as I filled the jars because I had slightly too much liquid. That liquid was added to my compost bin after it cooled. There was still plenty of liquid in each jar, as it’s important to keep them acidic and sugary enough that you can process in a water bath canner rather than a pressure canner.
What you’ll need
– 8 cups finely minced (blended briefly on lowest setting is fine) cucumbers, the stems and ends not included
– 4 cups finely minced (blended briefly on lowest setting is fine) onion
– 1 finely minced red pepper
– 1/2 cup salt appropriate for pickling/canning
– 7 cups sugar
– 4 cups cider vinegar
– 2 tsp turmeric
– dish towel laid out on the counter
– shallow, wide pan
– very tall stockpot with tight-fitting lid or commercial water bath canner
– large pan
– canning jar lifter
– butter knife
– very large bowl
– strainer or colander
– 8 half-pint canning jars with new lids and bands
What you’ll do
In a very large bowl, mix together the minced cucumbers, onion, and minced red pepper. Sprinkle the salt on top and cover with cold water. Add ice cubes if you like, and leave at least two hours. In the morning or after 2 hours, pour out the water, strain, press out additional liquid – I used a potato masher – and strain out the water again. Do this several times until there’s very little water coming out of the bowl when you strain.
In a shallow, wide pan, heat up 4 half-pint (8oz) jars in about an inch of water. Do not boil.
In the very tall stockpot or canner, put your canning rack in the bottom and fill with enough water that your jars can sit in it and be covered with at least 1-2 inches of water. Heat to a simmer.
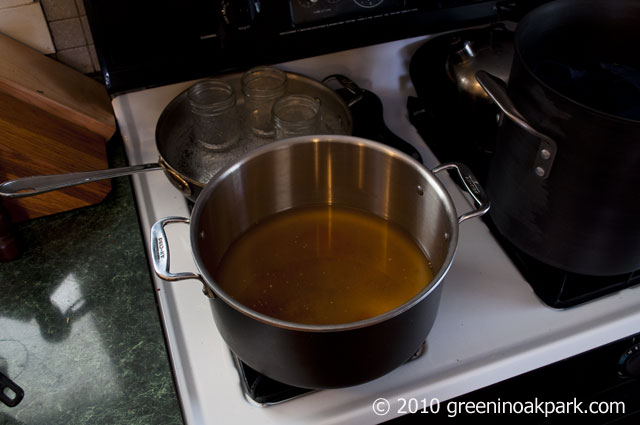
In the large pan, heat the vinegar, sugar, and spices to boiling.
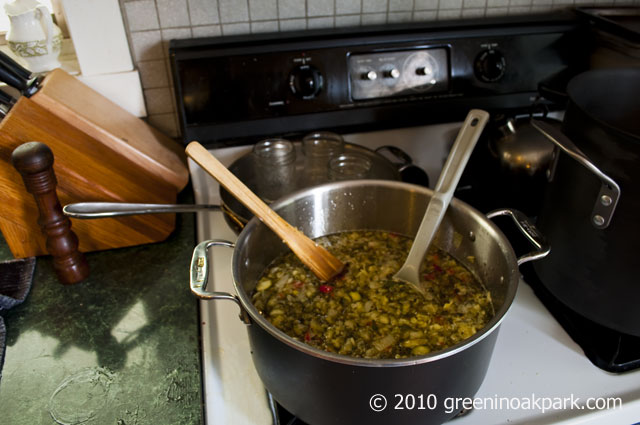
Add your veggies to the pan and bring to a boil again.
Please ignore the mess on the counter, if you would.  Realism wins over Photoshop today.
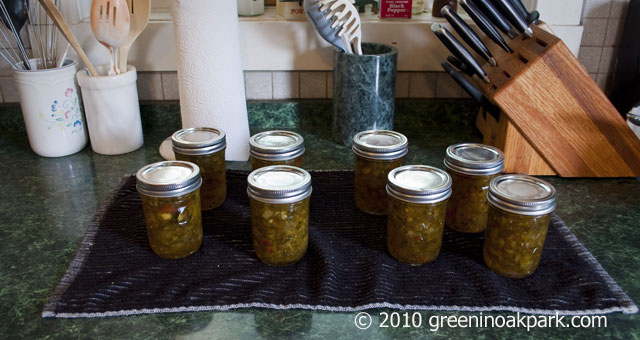
Remove your jars from the hot water with a canning jar lifter and place on your dish towel on the counter. Place a canning funnel in one and fill with relish, leaving 1/4 inch of headroom at the top. Push out any air bubbles with a butter knife. Wipe off the very top of the jar with a towel. Place a lid on the jar, screw on a band to finger-tightness, and fill the next jars in this batch in the same way.
Place the jars in the canning rack, cover the very tall stockpot, and simmer for 10 minutes, more if you are above sea level. Your canning jars will likely have instructions with adjustments for areas above sea level. After the time is up, remove them with your canning jar lifter while being careful not to burn yourself and place them on the dish towel to cool. Shortly after, you should hear a “ping” as each jar seals. Test when they’ve cooled a bit by looking to see if the lids are slightly concave, by pressing on the center and making sure they don’t give and/or pop back out, and then later by unscrewing the bands and lifting the jars by the very edges of the lids to make sure the seal does not move. If you do this, store without the screw bands because the putting it back on can move the lid enough to break the seal. If any haven’t sealed properly, you can reprocess if it’s immediately after. Store upright.
If you’re doing more than one batch, leave the relish in the big pan at near simmer and bring back to a boil briefly before repeating the process of filling the jars. Then repeat the water bath process.
Voilà, relish!
Just a reminder: the caveats about not using these blog entries as complete canning instructions, as outlined here, STILL APPLY. Read Putting Food By or another canning bible, take a class, and do your research.
Also, this obviously isn’t a low-sodium or low-sugar recipe. It is, however, vegan and gluten-free.
This most certainly doesn’t save time, obviously. It takes much less time to pick up jars of relish from the grocery store when I happen to be there. But this does save money while still giving me relish that’s probably better than store-bought. I paid about $10, probably a little bit less, for the cucumbers, sugar, vinegar, spices, and red pepper, and I got 64 oz of relish total out of it. If I’d bought an equivalent amount, let’s say six 10oz jars from the store, I would have paid at least $15 for the good stuff, without the satisfaction of having made it myself.
Got any good relish recipes you’d like to share, whether it’s cucumber-based sweet relish or another kind? Comment away.
(Full Disclosure: If you use these links to buy these items from Amazon, Green In Oak Park does get a small kickback. No pressure to use them, of course.)


Hola! I’ve been reading your weblog for some time now and finally got the courage to go ahead and give you a shout out from Porter Texas! Just wanted to tell you keep up the good work!