Strawberry season has begun here in the Midwest, and I’m going to take advantage of the local bounty. But I can’t eat it all in time by myself, and I’m the only one in this house who likes them, so some preservation tactics are in order. Freezing seems to be the best option.
A little bird on facebook told me to use sugar when freezing. Since this is my first time doing this, I researched and found there are lots of techniques, some of which use sugar or a syrup pack and some don’t. While some swear sugar helps them keep better, others say it makes no difference or that they prefer without, so it seems to be a matter of preference. I decided to use sugar and to let the strawberries make their own syrup, which they will do if you let them sit a while after they’ve absorbed the sugar. Here’s my method, using strawberries from Saturday’s farmers market.
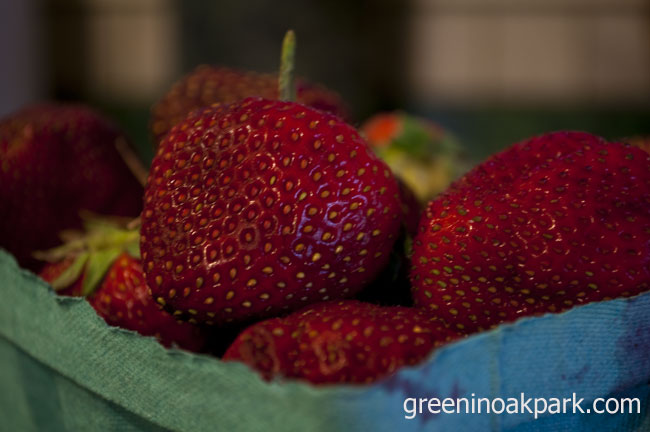
First, find some healthy-looking, ripe strawberries.
Aren’t they lovely? And they’re local. Local will mean better-tasting, more nutritious strawberries, rather than strawberries bred to travel over a thousand miles. You can also ask how they’re grown, which is of particular interest since strawberries are on the list of foods with greater pesticide residue when sprayed. I got them for a good price, although they weren’t as cheap as they were during the unusual strawberry season earlier this spring. That was a frugal tip, and this is more about local food.
Wash them with cool water and dry thoroughly to prevent ice crystals. Set aside what you’ll eat right away, as they’re best fresh. Check out the end of this post for a great way to eat them with homemade whipped cream. Pick out or cut off any smashed bits or overly-ripe berries and put in your compost bucket if you have one. I halved mine, but you can leave them whole, smash them with a potato masher to make puree, or put them in the blender if you like.
In a large bowl, combine strawberries and sugar if you are adding sugar. Use about 3/4 cup sugar for each quart of strawberries. Stir until the berries have absorbed all the sugar and then spread them out on a cookie sheet, leaving as much space between each as possible. I lined mine with waxed paper and if you’re going to line yours, I suggest waxed paper over foil of any kind. It’s healthier and eventually you’re going to freeze them this way. They’re much less likely to stick to waxed paper than to foil. I’ve heard bits of foil are not so tasty, and while I’ve not intentionally tried them that way, I’m inclined to agree.
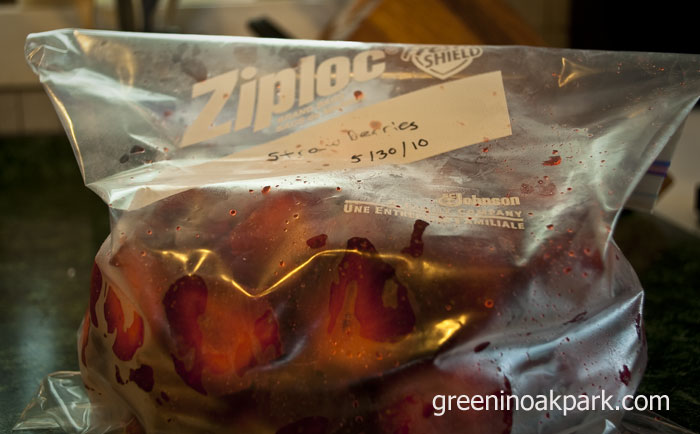
Put them in the refrigerator for a few hours, making sure of course that your cookie sheet is level and doesn’t drip syrup all over the inside of your fridge. I kept them in there for about 3 hours, as they are better if you freeze them when they’re already cold. Then put them in the freezer on the cookie sheet and freeze them overnight. In the morning, fold up the paper and slide them into a freezer bag. Push out as much air as possible, seal, and put back in the freezer.
I used a permanent marker to label mine with the date. I have an actual eraser for that marker, and I will wash out and re-use the bag when I’m done with this batch.
Also, if you don’t have room in your freezer to use the cookie sheet or if you’re mashed or pureed them, you can put them in the freezer bag right after you take them out of the fridge. It’s simply that you’ll have a harder time keeping them separate if they’re in syrup, so consider using smaller freezer bags if that’s the case. If you’re not using sugar, just make sure they’re very well dried so that they’re less likely to stick to each other.
I’m told they’ll get darker and softer with freezing, and so while they can be eaten plain, they may be better for things such as sauces, pie fillings, homemade yogurt, and maybe ice cream. Homemade strawberry ice cream sounds divine in this hot weather, doesn’t it? I’ll let you know how they turn out.


