Hey, everyone, check out Oak Park’s newest green company – Greenline Wheels. You can rent a bike from them and get around town in a much greener way. Their grand opening is tomorrow, 11am-12:30pm. Welcome, Greenline Wheels.
TribLocal re-post about Urban Sprout
I posted about Mike Reust and Urban Sprout Garden Design in Oak Park back in June here, but now it’s on the TribLocal website here as well.
TribLocal is a Chicago-area hyperlocal news site with citizen contributors, so check out your town’s goings-on there if you live in the ‘burbs. You can contribute stories and photos as well.
Preserving onions
As it occupies my mind often lately, I’m going to continue posting about preserving food for a bit longer. Next up, onions.
There are lots of choices for preserving onions. Vidalia onions will store for several months in the fridge if you wrap them in paper towels, although to me that seems like a lot of paper towel use, and many of us don’t have the fridge space for that. You can also store onions whole in old pantyhose if you tie a knot between each onion and hang them in a dry, cool place – and I don’t mean a hipster bar, by the way. Most people recommend cutting the pantyhose at each knot to get an onion out. If this seems wasteful to you, you can save the pieces to tie your tomato plants to stakes next year.
You can dehydrate chopped onions, but I hear this makes the entire house smell like onions, and then it’s hard to rid the dehydrator of it. You can also do this in the oven, but it won’t help the Eau de Onion scent, and it probably takes up more energy to do it that way.
Finally, there’s freezing, whether it’s whole, in discs, or chopped. Freezing chopped onion is how I’m preserving mine, so now that I’ve dried the tears, I can show you what I did.
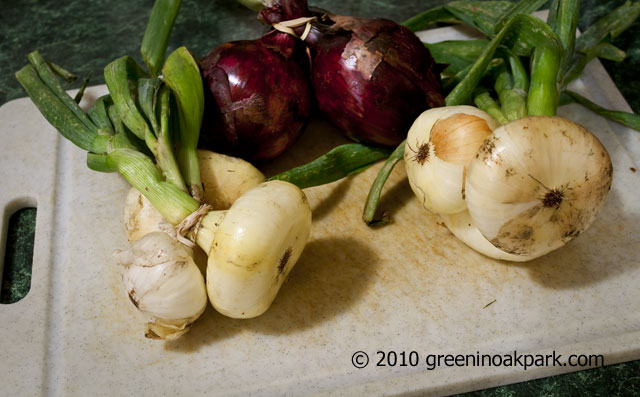
First, get some good local onions.
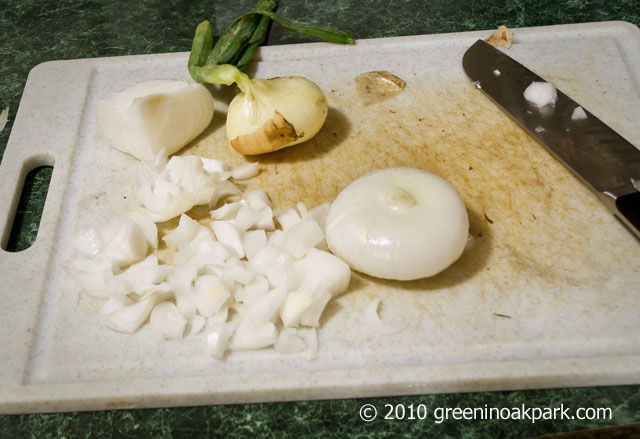
And then peel and chop. I started with the Vidalias.
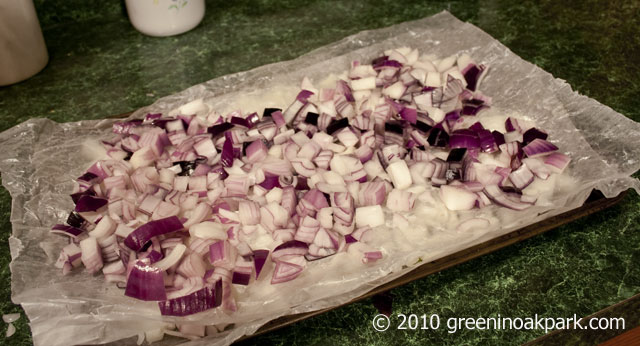
To make them easy to separate once they’re in freezer bags and to minimize frost, I spread them out on wax paper on a cookie sheet before putting them in freezer bags. Here they are with a layer of red onions on top.
And after they’ve frozen overnight, they’ll go in freezer bags. Then I can scoop some out as needed. They won’t be good raw as it does change the texture, but they’re fine for cooking. I wish Vidalia onions were in season all the time since they’re sweeter and milder than other types, but this is the next best thing.
If you freeze them whole, be sure to wash, core, and peel them first.
That’s it! Pretty easy, no? Once the crying stops, that is. 8`[
Don’t forget – Root Riot Harambee Dedication today at 3pm
Root Riot’s Harambee location at 500 N Waller in Chicago will have its dedication today, August 15th, at 3pm. Please consider coming to show your support.
Freezing Mirai Sweet Corn from Twin Garden Farms
Remember this corn? It’s still available at the Forest Park Farmers Market (although not at the Oak Park Mid-week Market any longer), and according to the folks selling it, it should be around for another 6 weeks.
It’s still fantastic, if you were wondering. We had some Friday night with veggie burgers from the Oak Park Farmers Market. I thought about how I could keep some around into the winter, so I looked up instructions on freezing corn on the cob. Most sites recommend blanching it by boiling it for a few minutes, but because this corn is less starchy, I thought I’d ask. As it turns out, the guys at the Twin Garden Farms stand at the market recommended simply freezing it. Cooking it more than once will ruin the texture, they say.
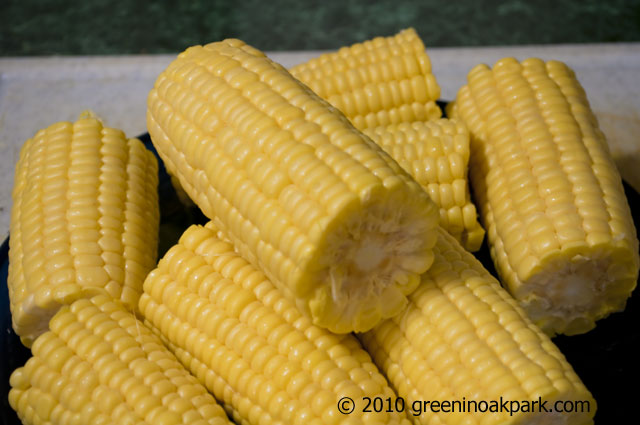
You can do it the easy way, as I did, and cut it in half and put it on a flat surface to freeze before putting it in freezer bags.
I’m using a plate here, by the way, because my cookie sheet is fulfilling another purpose at the moment.
Or you can cut it off the cob and freeze it, which is – obviously – harder, but probably gives better results. I’d rather have it on the cob when eating it, so that’s what I’ve done. I’m excited to have corn after the season ends, by the way.
Peach salsa
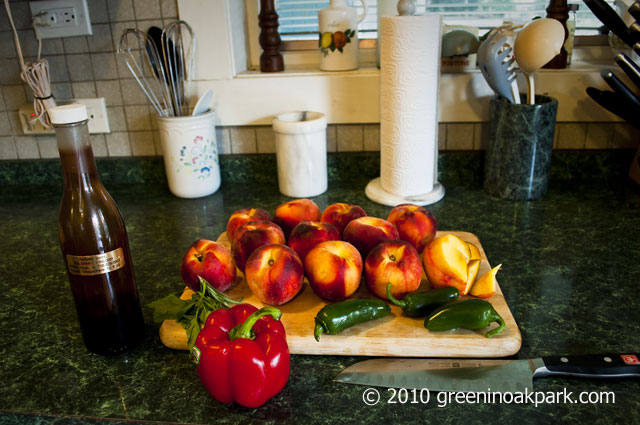
So I mentioned earlier that I had plans for all that produce. What was my plan? Peach salsa!
I used this recipe from Janice Faulk Duplantis at Home-Canned Condiments on Blogspot, although I omitted the cilantro and substituted fresh basil and rosemary from my deck planter. I also used lemon juice instead of lime, white sugar instead of brown, and 3 jalapeno peppers instead of 2 and one banana pepper because I had all those things. I’ll reproduce the recipe as I made it here for your webbarnets convenience. The important part is that even though I varied it, I kept the acidity and sugar ratio the same. In cross-referencing with other recipes, I found that this is the acidity and sugar ratio that most of them use. If it had not been acidic enough, I would have to pressure can rather than water bath can.
What you’ll need
– about 10-11 small to medium peaches
– 3/4 – 1 medium onion (I used a red onion)
– 1 medium red bell pepper
– 3 jalapeno peppers
– 1/4 cup white wine vinegar, 5% acidity
– 1/4 cup balsamic vinegar, 6% acidity
– 2 tbls. lemon juice or the juice of one fresh lemon
– 1/2 cup sugar
– 2 cloves garlic
– 1/2 tsp. ground cayenne pepper
– 1½ tsp. ground cumin
– salt and pepper to taste
– wide saucepan with about an inch of hot but not boiling water
– approximately 3 pint or 6 half-pint clean and dry canning jars with new lids and bands
– 4-5 qt saucepan
– tall stockpot or water bath canner with rack for jars (tall enough to fill with water that will cover jars with 1-2 inches of water over them)
– canning jar lifter
– plastic knife or chopstick for removing bubbles
What you’ll do
Seed the jalapenos and red pepper. Finely chop the peaches, onion, red pepper, and jalapenos. You’ll want 6 cups of peaches, and 1 cup each of red pepper and onion. Mince the garlic.
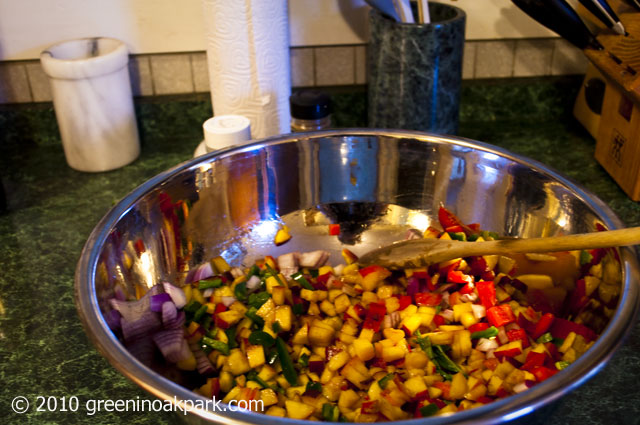
Heat jars in pan with 1 inch of water at low-medium heat – do not boil. In a large bowl, combine peaches, onion, bell pepper, jalapeno pepper, white wine and balsamic vinegars, lemon juice, sugar, garlic, cayenne pepper, cumin, and salt and pepper.
Bring mixture to a boil and simmer over low heat in the large saucepan for approximately 15 minutes or until salsa reaches desired consistency; stir frequently to prevent mixture from scorching. Remove from heat and ladle hot salsa into clean, hot, canning jars, filling to within 1/4-inch of jar tops (headspace). Remove air bubbles by sliding a rubber spatula between glass and salsa; readjust headspace to 1/4-inch. Wipe rims and threads with a clean damp cloth, place lids on jars and screw on bands. Process in boiling-water canner for 15 minutes if pint jars, 10 minutes for half-pint jars. Remove jars from canner; place on wire rack or thick cloth. Allow to cool undisturbed and away from drafts. You should hear the jars seal within a few minutes after removing from the water. After 24 hours test lids for proper seal; date and label product. Remove bands and store in a cool, dark place. To fully develop flavor, allow salsa to cure for a minimum of 2 weeks; refrigerate unused portion of salsa after opening. Yields approximately 4 pints.
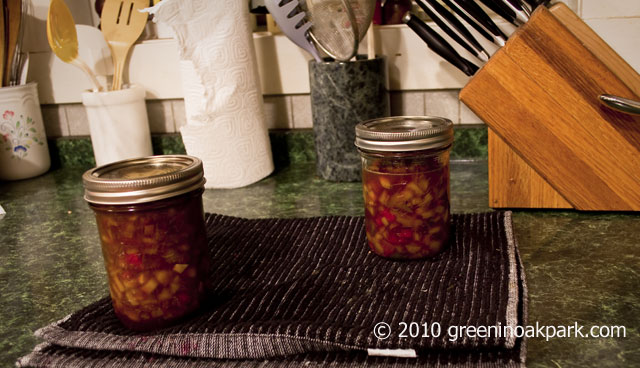
I got almost 3 pints out of this recipe, but you can see I didn’t get enough in the third pint jar – the one in the back – to can as there’s too much headroom on top, so that’s refrigerated and will be consumed this week. I’m thinking nachos. Mmmm, nachos.
Unlike the relish recipe, this one may not be the clear winner for frugality. I’m probably coming out even in terms of cost, but I’m using local produce and getting a better end product.
Also important: as I’ve said before, my disclaimer about using this blog as a way to learn how to can is at the end of this post. In short, don’t. Read a good book such as Putting Food By, take a class, or both. Water bath canning isn’t difficult but it is not my aim to teach you how to do it safely, and safety in canning is hugely important.
Picture post – the latest harvest part 1
I’m not feeling too hot this weekend, so I’m just going to show you what I’ve been harvesting. This is Part 1 of 2; what I bought and harvested. Part 2 – what I’m doing with them – will hopefully arrive tomorrow.
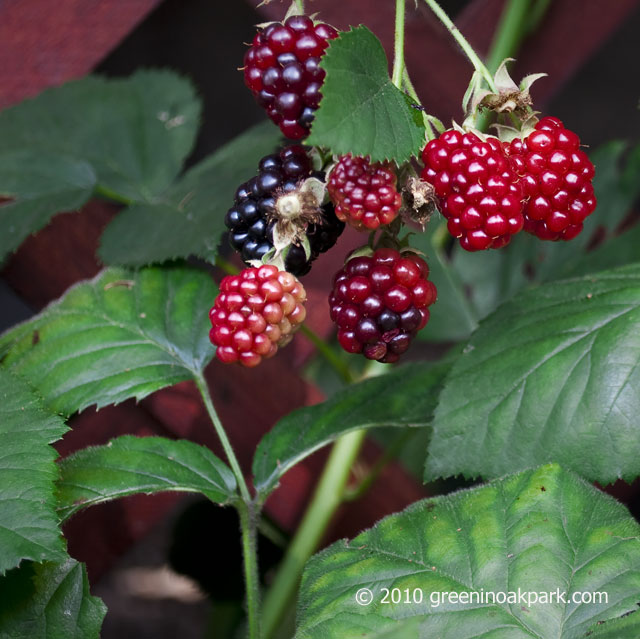
So this blackberry plant up against the deck has been rather prolific, as if it senses the end of the season.
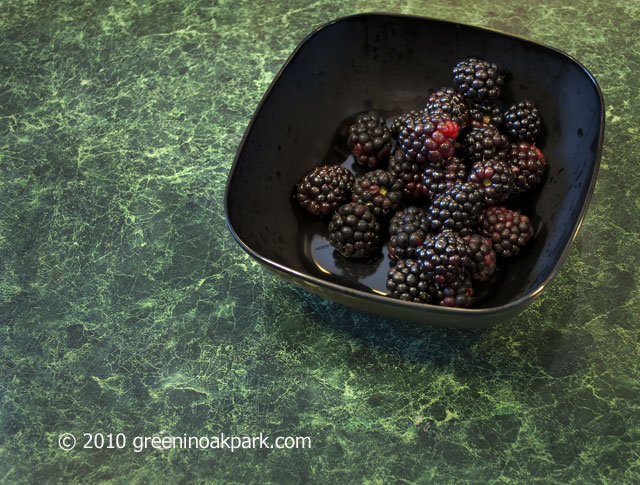
Just today, it gave me all of these.
None of those were ripe yesterday, and I can see even now, a couple of hours later, some of the ones I didn’t pick are getting closer to ripe.
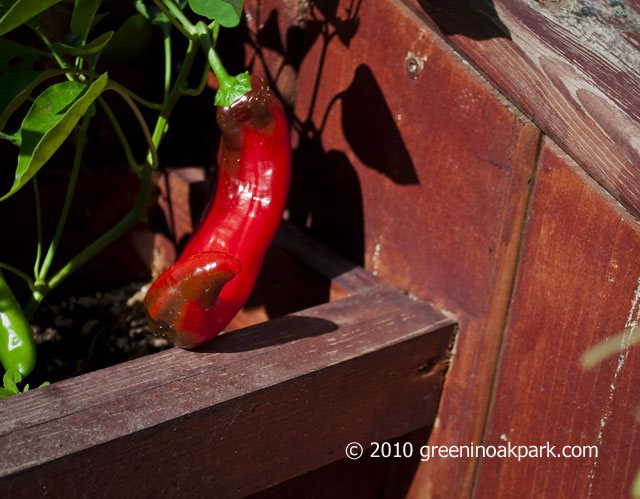
This Melrose Pepper is aaaalmost there.
Maybe tomorrow? You can eat them green; I just want to try a fully red one first.
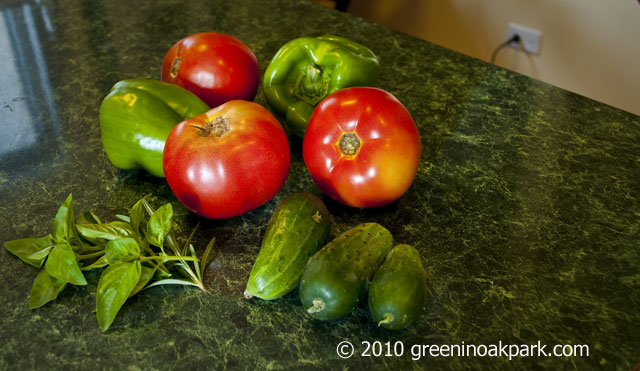
These aren’t all of the bell peppers or tomatoes I bought from the farmers market. Merely a sample. The herbs are from my deck planter, and the cucumbers will go in the slow brine in the pickling crock.
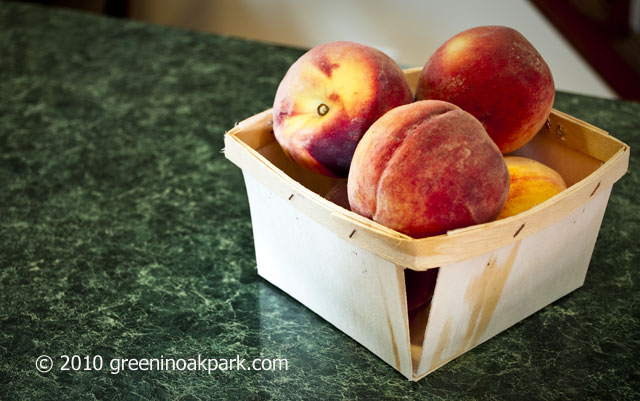
Don’t forget about peaches! Peaches aplenty at the farmers market this week.
Peaches don’t really come from a can, even if sometimes later they were put there by a man.
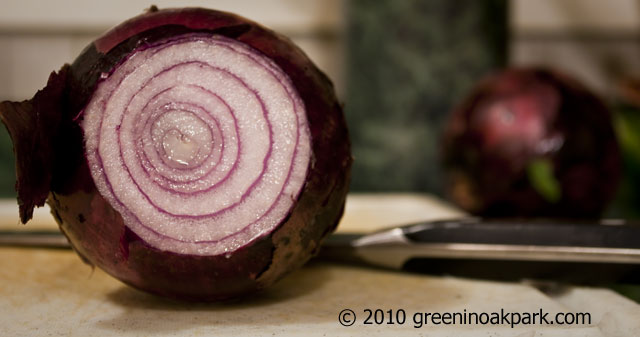
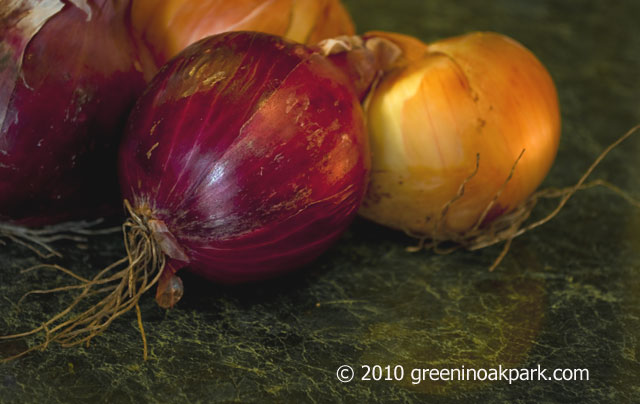
I’ve always thought onions were visually interesting. In the skin, they give a hint of the layers underneath.
What have you been harvesting lately? Any interesting farmers market purchases?
Ah, I’m going to miss all these food posts in the winter, when it’s time to eat things I’ve preserved and talk about drier subjects such as making your house more energy efficient as you heat it. I suspect there won’t be nearly as many chances to photograph and write about food then, but we’ll see.

